|
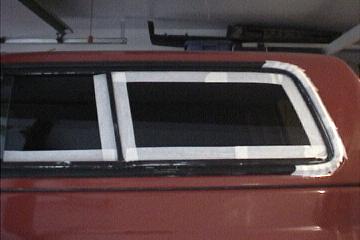
Redoing the rewindow trim.
The black metal trim around my windows was starting lose the paint and it looked horrible. Here are the steps i did to change that.
|
|
After Pic
I have to go take a pic and upload it.
|
Prepping the trim.
I first sanded the trim with 3M 220 grit sand paper, then i cleaned it really well with rubbing alcohol. |
|
|
|
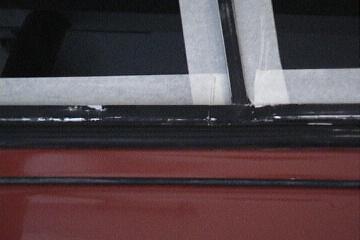
Close up of prep.
It just shows some of the spots were the paint came off and the start of masking.
|
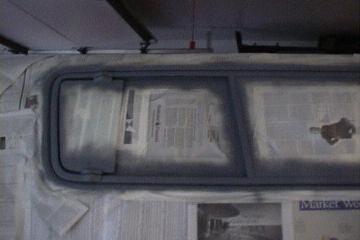
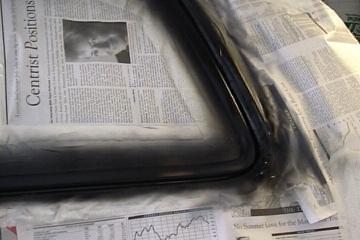
Priming.
I used Krylon primer to prime it for the trim paint. It also helped fill in the low spots. |
|
|
|
More Priming.
|
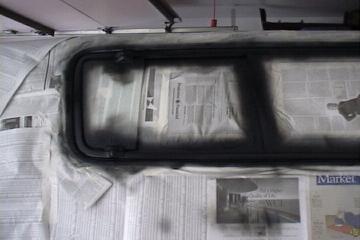
The Final Coat.
I used dupli-color trim paint. It actually worked very well. It turned out really nice and hasn't scratched. |
|
|
|
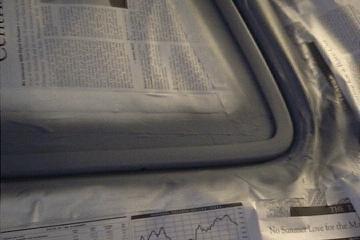
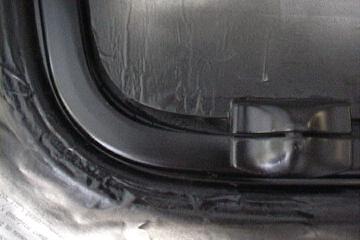
Close up.
THe paint made a very smooth almost flat(as in not gloss) black color.
|
Another Close up.
I was very pleased with result. It was a drasitc increase in look. It looked much sleeker and a lot better.
|
|
|
|
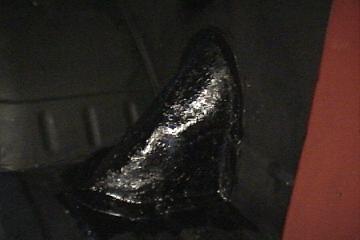
POR 15 power mesh.
Here i used the POR-15 power mesh to fill the large rust holes in my gas tank filler cover thing. YOu first paint por-15 over the rust, then you place a sheet of the power mesh (pretty much fiber glass) then you soak the mesh in por-15. Give it a few more coats and it is done. |
POR-15 close up.
It taurned out great, it is really hard and has kept water and such out. |
|
|
|
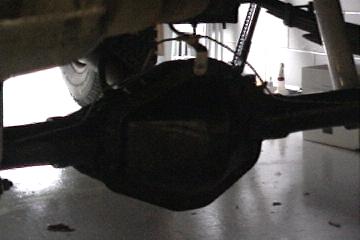
Corporate 14 bolt ff
Here are a few pics of my new 14 bolt w/ discs. They aren't the best pics but they will do for now till i get some better ones. |
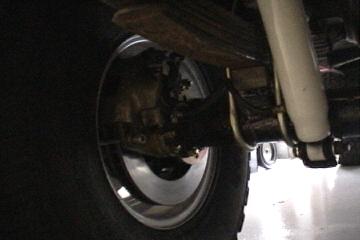
Disc Brakes w/ Caddy Calipers
Here ypu can see the disc brakes. I used the tsm kit with Caddy Eldorado caliper. |
|
|
|
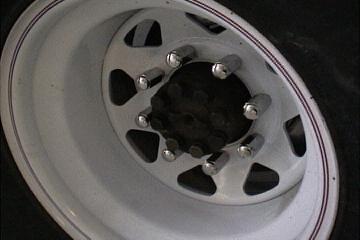
Temporary Rims
These are my temporary 8 lug rims until i get my black ones. |
Caddy Calipers
Not the best pic but it shows the caddy calipers w/ the e brake arm, it is the dark thing in the middle.
|
|